Flat pack furniture assembly sounds straightforward until you are forty minutes in, three steps behind where you thought you were, and holding a cam lock in the wrong orientation. Most people have been there. The instructions are technically complete; the process is rarely as linear as the diagrams suggest.
This guide covers how to approach flat pack assembly efficiently, the mistakes that add the most time, what to do when something goes wrong, and when handing the job to a handyman makes more practical sense.
The biggest time-saver in flat pack assembly happens before you put a single piece together. Getting the preparation right takes ten minutes and prevents the kind of mistakes that cost an hour to undo.
Not to memorise them, but to understand the sequence. Flat pack assembly is almost always order-dependent: a panel that looks interchangeable at step 3 is not, because it needs to be in a specific position before the back panel goes on at step 8.
Reading ahead prevents the most common and time-consuming mistake: having to partially disassemble completed sections to insert a component that should have gone in earlier.
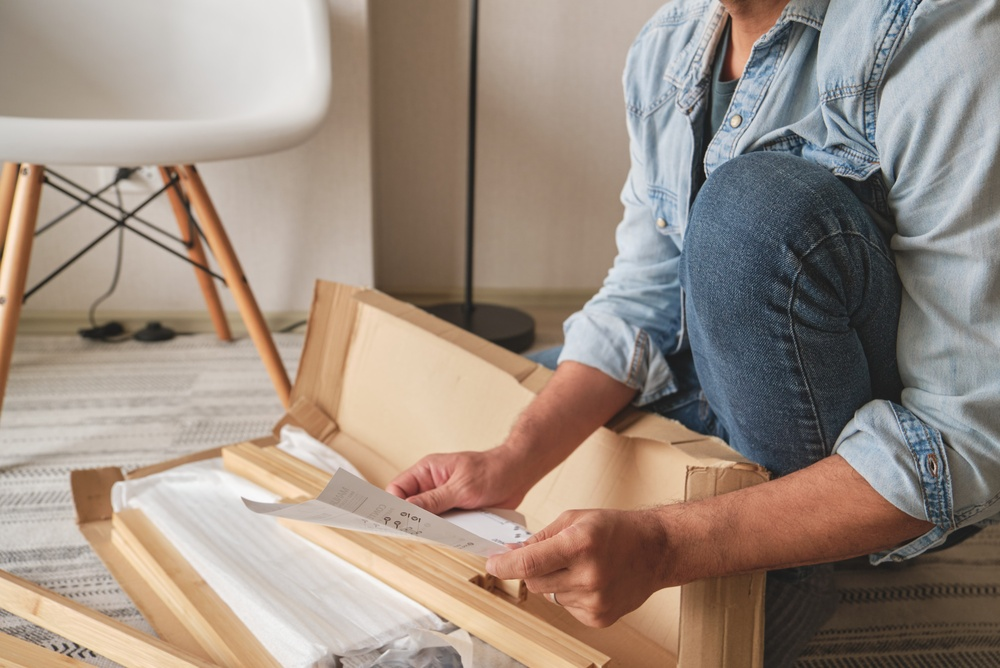
Do this before assembly, not when you discover a missing dowel at step 12. Most manufacturers include a parts checklist; use it. If anything is missing or damaged, contact the retailer before you have assembled two-thirds of the piece.
You need enough floor space to lay the largest panels flat and move around them comfortably. Assembling furniture in a tight space means awkward angles, dropped fixings, and panels that scratch against walls or floors.
A rubber mallet, a crosshead screwdriver, and an electric screwdriver with variable torque cover most flat pack jobs.
Most kits include an Allen key, but a proper hex driver set is faster and easier on your hands. Having everything within reach before you start means you are not putting down panels to search for tools mid-step.
Most flat pack assembly problems come down to the same handful of errors, and most of them are easy to avoid once you know what to watch for. These are the ones that cost the most time and are the hardest to correct once they have happened.
The most frequent cause of stripped threads, cracked MDF, and broken cam locks is overtightening. Flat pack fittings are designed to be snug, not as tight as possible. A cam lock that is turned past its resistance point is damaged; it will not hold well and may not hold at all.
Tighten fixings until they are firm and stop. If a fitting spins freely without resistance, the thread is already gone. Forcing it further makes the problem worse.
Most cam locks have a directional indicator: an arrow or a line that shows which way to face the socket before inserting the cam. Fitting it the wrong way means the cam rotates into space rather than locking. The joint appears assembled but has no structural integrity.
Check the orientation of every cam lock socket before it goes into the panel. Once the panel is in place and the back is on, correcting a backwards cam lock means disassembly.
Most flat pack kits include several types of screw, dowels, and fittings that look similar but are not interchangeable. A screw that is 2mm longer than the correct one for a particular step can crack through the face of an MDF panel. Sort fixings before you start by type and size, keep them separated, and match them to the step before picking one up.
Carpet compresses unevenly under the weight of a panel, which means nothing sits truly level during assembly. Joints that feel tight on carpet can open up once the piece is moved onto a hard floor and the compression releases. Where possible, assemble on a hard, flat surface. If carpet is unavoidable, a sheet of hardboard or MDF laid flat gives a stable assembly surface.
Before tightening any joint fully, check that the carcass is square. Measure diagonally from corner to corner in both directions: if the measurements match, the piece is square. If they do not, the piece will rack, doors will not hang correctly, and drawers will bind. Correct it before tightening, not after.
Most flat pack problems have a straightforward fix if you catch them early. Here is what to do with the most common ones, and when the damage is serious enough to contact the retailer rather than work around it.
Pack the hole with a wooden toothpick and a small amount of wood glue, let it dry, and re-drive the screw. The toothpick fills the void and gives the thread something to grip. Do not try to re-drive a screw into a stripped MDF hole without filling it first.
A crack in an MDF panel that runs along the grain can usually be stabilised with wood glue clamped until dry. A crack that runs across the panel or has broken through to the face is structural damage; the panel needs replacing. Contact the retailer with photographs.
Most major flat pack manufacturers supply replacement parts directly. IKEA, for example, has a spare parts service both in-store and online. Do not attempt to substitute a similar-looking fixing from a hardware shop without confirming it is the correct specification; thread pitch and diameter vary.
Flat pack ranges are updated periodically, and instructions sometimes lag behind revised parts. If the diagram does not match what is in the box, check whether a more recent version of the instructions is available on the manufacturer's website before assuming the parts are wrong.
Most flat pack furniture is designed to be assembled by one person. Whether it is worth doing yourself depends on the size of the piece, the time available, and the context.
For offices, commercial spaces, and rental properties being prepared between tenancies, time has a direct cost.
The minor repairs that accumulate in a rental property between tenancies are already a job in themselves; adding a complex assembly to the list rarely makes sense. A handyman who assembles furniture regularly will produce a result that functions correctly from the start: doors aligned, drawers sliding cleanly, fixings at the right torque.
For most tall or freestanding units, yes. RoSPA identifies unstable furniture as one of the leading causes of home injury in the UK, particularly for young children. Most manufacturers include a wall bracket and instructions; the step appears near the end of the assembly guide and is often treated as optional when it is not.
The reason many people skip it is not laziness. Wall-fixing requires knowing what is behind the surface: stud, masonry, or plasterboard each need a different anchor, and using the wrong one will not hold the unit securely. It is a straightforward job for someone who does it regularly, and the step where most DIY assembly runs into real difficulty.
Our handyman service covers flat pack assembly and wall-fixing across London and the South East.
Final thoughts
Flat pack furniture assembly done properly is methodical rather than quick. Reading ahead, checking parts, assembling in the right sequence, and checking for square before tightening: these steps take a few extra minutes at the start and save significantly more time over the course of the job.
For single straightforward pieces, the approach above covers most of what you need. For larger units, multiple pieces, or anything that needs wall-fixing, the time and risk calculation often points toward having someone assemble it who does this regularly.
We cover flat pack furniture assembly across London and the South East, alongside a range of home repair and maintenance jobs that tend to accumulate alongside a furniture project. If you have a list that goes beyond assembly, get in touch or call us on 0800 689 3497.
How long does flat pack furniture assembly take?
It depends on the piece. A small bookshelf or bedside table typically takes 30 to 60 minutes. A double wardrobe or large chest of drawers can take two to four hours, particularly if it is your first time assembling that model. Reading the instructions fully before starting and laying out all parts in advance reduces assembly time significantly.
Do I need any special tools for flat pack assembly?
Most kits include an Allen key. A rubber mallet, a crosshead screwdriver, and an electric screwdriver with variable torque cover the majority of flat pack jobs. A spirit level and tape measure are useful for squaring and wall-fixing. Using proper tools rather than the included Allen key alone is faster and reduces the risk of overtightening.
What do I do if I strip a screw hole in flat pack furniture?
Pack the hole with a wooden toothpick and wood glue, let it dry completely, then re-drive the screw. The toothpick fills the void and restores the grip the thread needs. Do not attempt to re-drive into a stripped MDF hole without filling it.
Why won't my flat pack wardrobe doors hang straight?
The most common cause is a carcass that is not square. If the diagonal measurements across the back of the unit are not equal, the frame is racked and the hinges cannot compensate for it. Check squareness before the back panel goes on, while the frame can still be adjusted.
Is it worth hiring someone to assemble flat pack furniture?
For a single small piece, probably not. For large wardrobes, multi-unit systems, anything requiring wall-fixing, or multiple pieces in a commercial or rental setting, professional assembly saves time, avoids costly mistakes, and produces a result that functions correctly from the start.
Can flat pack furniture be disassembled and reassembled?
Most flat pack furniture can be disassembled, but cam locks and MDF threads degrade with each disassembly cycle. After two or three complete disassemblies, the joints are rarely as tight as the original assembly. If a piece needs to move regularly, solid wood furniture with traditional joinery holds up significantly better.
What should I do if parts are missing from my flat pack kit?
Check the parts list before assembly to identify exactly what is missing. Most major manufacturers supply replacement parts: IKEA has an in-store and online spare parts service, and most other brands have customer service lines that can despatch missing hardware. Do not substitute similar-looking parts from a hardware shop without confirming the specification matches.