

If you want to know how to use a plunger the right way, here’s the truth: plunging is mostly about getting a tight seal and moving water, not “angry pumping.” Do it right and you can clear most everyday clogs in minutes without chemicals, without drama, and without calling someone at 10 PM.
This guide covers toilets, sinks, tubs, showers, and floor drains, plus what to do when plunging doesn’t work.
Using the wrong plunger is like trying to open a wine bottle with a spoon. You might get there. It will not be pretty. Here’s what you need to know:
If there is sewage backup or you suspect wastewater exposure, take hygiene seriously. Gloves, careful cleanup, and thorough handwashing are not optional.
If a tub or sink is filling up, turn the faucet off. If a toilet looks high, do not flush again. Every extra gallon turns a clog into a cleanup.
A plunger works best when the cup is submerged. The water is what creates pressure and suction.
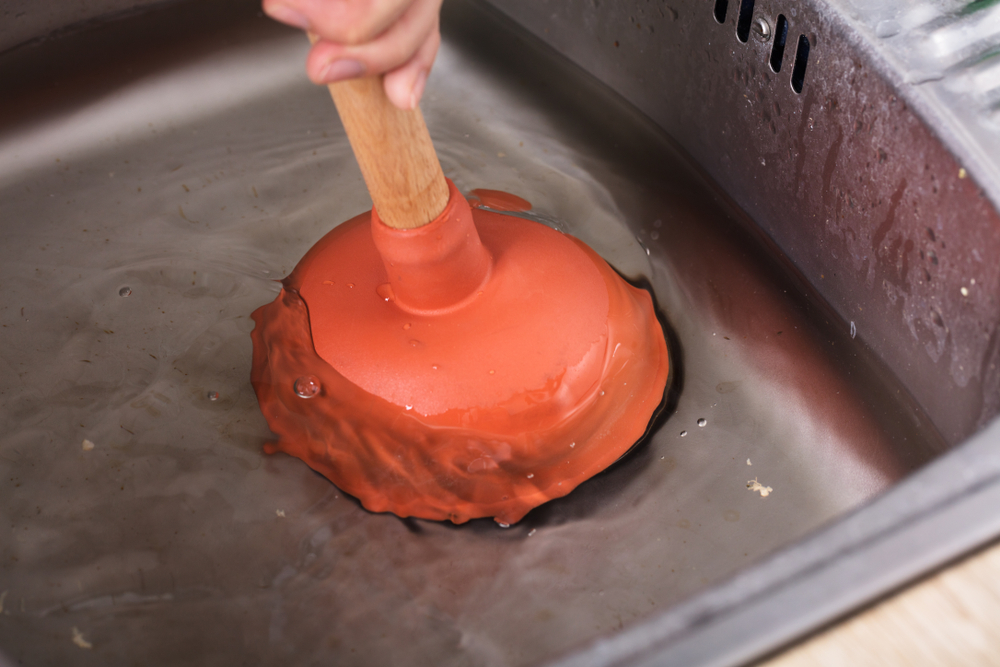
This step is why people think plungers “don’t work” on sinks.
That overflow hole lets air escape, which kills suction.
Place the plunger directly over the drain opening and press down slowly at first. You’re trying to push air out and lock in a seal.
If it keeps slipping:
Do one controlled push to force water into the drain. This can shift the clog and improve the seal.
Then move into steady plunging.
Use short, strong strokes while keeping the cup sealed.
Lift the plunger straight up.
If it drains normally, you’re done. If it’s slow or still backed up, repeat Step 6 once more.
Once the drain starts moving again, do not blast it with full flow right away.
Here are some at-a-glance tips on how to use plungers in most home drains:
A flange plunger is designed for toilets because a flat cup plunger can’t seal properly in the curved outlet.
If you have a pop-up drain stopper, hair clogs are common. Plunging can help, but you may also need to pull the stopper and clean it.
Kitchen clogs are often grease and food buildup.
If grease is the issue, plunging may loosen it, but the real fix is breaking it down and flushing the line properly. Avoid dumping boiling water into PVC drains if you’re unsure of your pipe material.
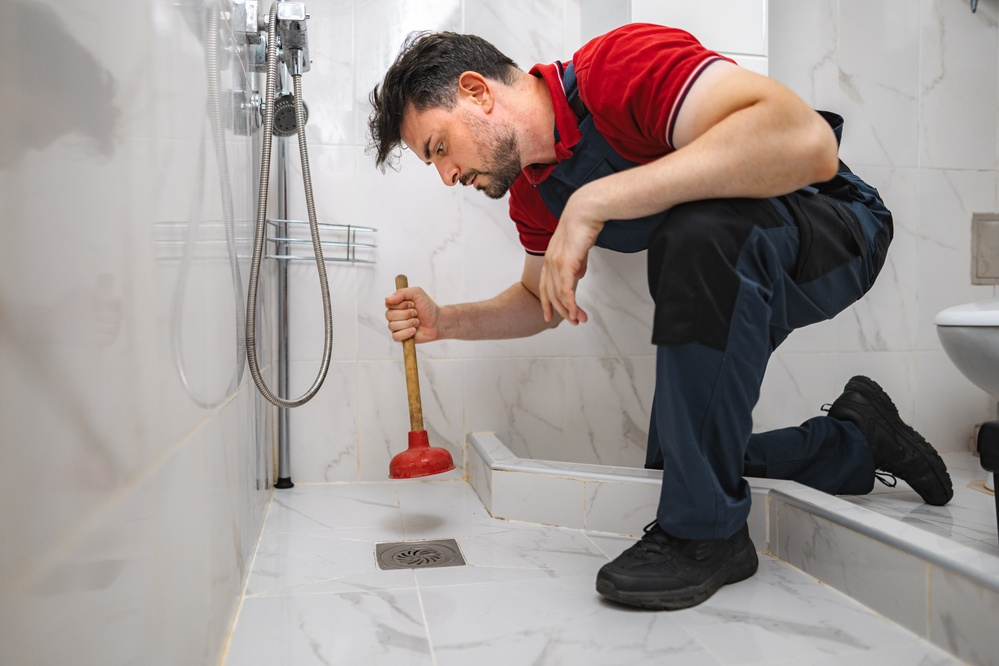
Shower clogs are usually hair and soap scum. Plunging works best if the clog is not a solid hair mat right under the drain cover. If it is, remove the cover and pull the hair out first.
Floor drains that back up can indicate a main line problem, especially if multiple fixtures act up at the same time.
In any case, do not use chemical drain cleaners before plunging. They can splash back and burn skin or eyes. They can also make the clog harder to clear if they don’t work. Many step-by-step plumbing guides recommend skipping chemicals for exactly this reason.
Do not “machine-gun plunge.” Fast, shallow jabs break the seal and do almost nothing.
Lastly, do not keep flushing a clogged toilet. You are not “helping.” You’re auditioning for a water damage claim.
Sometimes, plunging just doesn’t work. Here are the top reasons why:
If multiple drains are backing up at the same time, the problem is almost never the fixture you’re standing over. This usually points to a branch line or main line issue, which plungers are not designed to fix.
Water coming up through a floor drain is another red flag. Floor drains are often the lowest exit point in the system, so when they back up, it means the line downstream is restricted. That is not a surface clog and it should be handled before it turns into a full overflow.
If a toilet keeps clogging shortly after you clear it, there is likely a partial blockage further down the line. Plunging may temporarily restore flow, but the obstruction will keep catching paper or waste until it is properly removed.
You should also stop DIY work if there is any risk of sewage exposure. Wastewater carries bacteria and contaminants that can pose health risks, especially if backups are recurring or spreading beyond the fixture. At that point, the priority shifts from clearing the clog to protecting the space and the people in it.
Finally, if you have plunged correctly with a good seal, followed the steps, and nothing improves after two solid attempts, it is time to call a professional. That is not failure. It simply means the clog falls outside what a plunger is meant to solve.
Knowing how to use a plunger properly can save time, money, and stress when everyday clogs happen. Most drain issues start small, and when they are handled early and correctly, they rarely turn into emergencies.
But when plunging stops working, waiting almost always makes things worse. Backups spread, water damage adds up fast, and what started as a minor clog can turn into an urgent repair.
If you are dealing with repeated clogs, slow drains throughout the building, or signs of a deeper drainage problem, it is time to bring in professionals who handle these issues every day. If you’re in the London area, call us for an inspection today.
What is the best plunger for most homes?
A flange plunger covers toilets and can still work on flat drains if you fold the flange up. If you only buy one plunger, buy this one.
How many times should I plunge before giving up?
Do 15 to 25 plunges, test drainage, then repeat once. If nothing changes after two solid attempts with a good seal, switch tools.
Should I plunge with hot water?
Warm water can help in sinks for grease clogs, but do not use near-boiling water if you have PVC pipes or if you just used chemicals. For toilets, stick to normal bowl water.
Why won’t my sink plunge work?
Most of the time, it’s the overflow hole leaking air. Block it with a wet rag and try again.
Can plunging damage pipes?
Normal plunging is low risk. Excessive force on old or fragile plumbing can stress weak joints, but compared to chemical cleaners and repeated backups, plunging is usually the safer bet.
Why does my toilet clog keep coming back?
Common causes include too much paper, “flushable” wipes, or a partial blockage farther down the line. EPA notes that inappropriate materials, including some products marketed as flushable, can contribute to sewer problems.
Is it safe to plunge if sewage backed up?
Use gloves, avoid splashing, disinfect surfaces, and wash hands thoroughly. If the backup is significant or recurring, stop DIY and call a pro.


