Key takeaways
If a radiator is warm at the bottom but cold at the top, it almost certainly has trapped air in it. Bleeding releases that air and restores heat output. This guide covers exactly how to bleed a radiator step by step, what to check once you have finished, how often to do it, and when the problem is something other than trapped air that bleeding will not fix.
Air enters central heating systems naturally over time, through microscopic gaps in fittings, when the system is drained and refilled, or after work has been carried out on the pipework. Because air is lighter than water, it rises to the top of each radiator and sits there, creating a cold pocket that hot water cannot fill.
The result is a radiator that is warm at the bottom but cool or cold at the top. Your boiler has to work harder and run longer to reach the thermostat's set temperature, which wastes energy and puts unnecessary strain on the system. Bleeding pushes that air out and lets the water circulate fully again.
Sludge and air build-up in a central heating system can reduce efficiency by 5 to 10%, adding a meaningful amount to annual heating bills. Keeping your radiators bled and your system clean is one of the most straightforward ways to maintain efficiency.
Before you start, gather the following:
That is all. No specialist knowledge or tools required.
Step 1. Turn the heating on and let all the radiators warm up fully. This takes around 15 to 20 minutes depending on the system.
Step 2. Carefully feel each radiator across its surface. Be cautious; they may be hot. Run your hand from the bottom upward and across the top.
Step 3. Look for cold patches, particularly at the top of the radiator. If the top is noticeably cooler than the bottom, that radiator has trapped air and needs bleeding. A radiator that is completely cold when others are warm may have a different problem. See the section below on when to call a professional.
Step 4. Listen for bubbling or gurgling sounds coming from any radiator when the heating is on. This is also a sign of trapped air.
Step 5. Make a note of which radiators need attention. If only one or two are affected, bleed those. If most or all of them have cold patches, the whole system may need bleeding in sequence.
To bleed a radiator successfully, follow the steps below in the order they are shown.

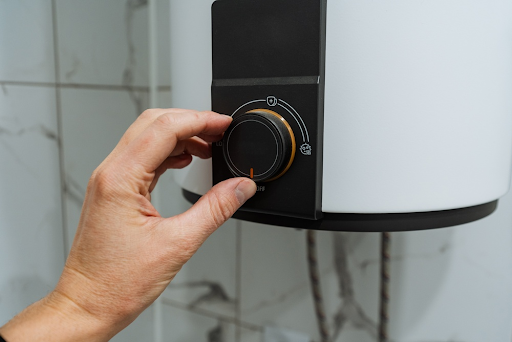
Do not bleed a hot radiator. The water inside is pressurised and can be scalding. Switch the heating off at the thermostat and wait at least 20 to 30 minutes before touching any radiators.
If you are bleeding multiple radiators, work from the one furthest from the boiler first, typically on the ground floor, and move toward the boiler.
Then do the same on the upper floors. Air tends to accumulate furthest from the source, so this order clears the system most efficiently.
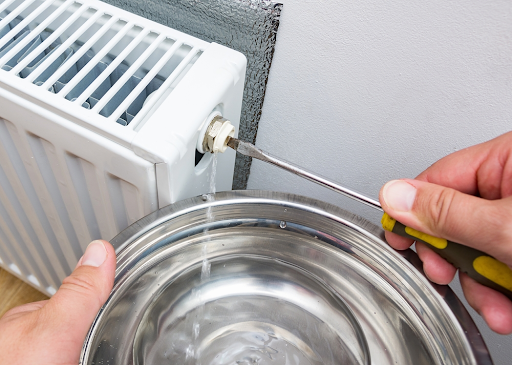
The bleed valve is a small component at the top corner of the radiator; usually the left or right end. It looks like a round nut with a square pin in the centre. Place your container directly underneath it to catch any water that comes out.
Slot the bleed key onto the square pin and turn it slowly, about a quarter turn. You do not need to remove the valve completely. You should hear a hissing sound almost immediately — that is the trapped air escaping. Hold the cloth near the valve to catch any spray.
Keep the valve open until the hissing stops completely, and a steady trickle or small stream of water appears. The water may be dark or discoloured, particularly if the system is older. This is normal and simply indicates the air has been fully released.
The moment water appears, turn the key clockwise to close the valve firmly. Do not overtighten it.
Move through the property in the order described: furthest first, working toward the boiler, ground floor then upper floors.
This is the step many people miss, and skipping it can cause the boiler to lock out. Bleeding releases water from the system, which lowers the pressure.
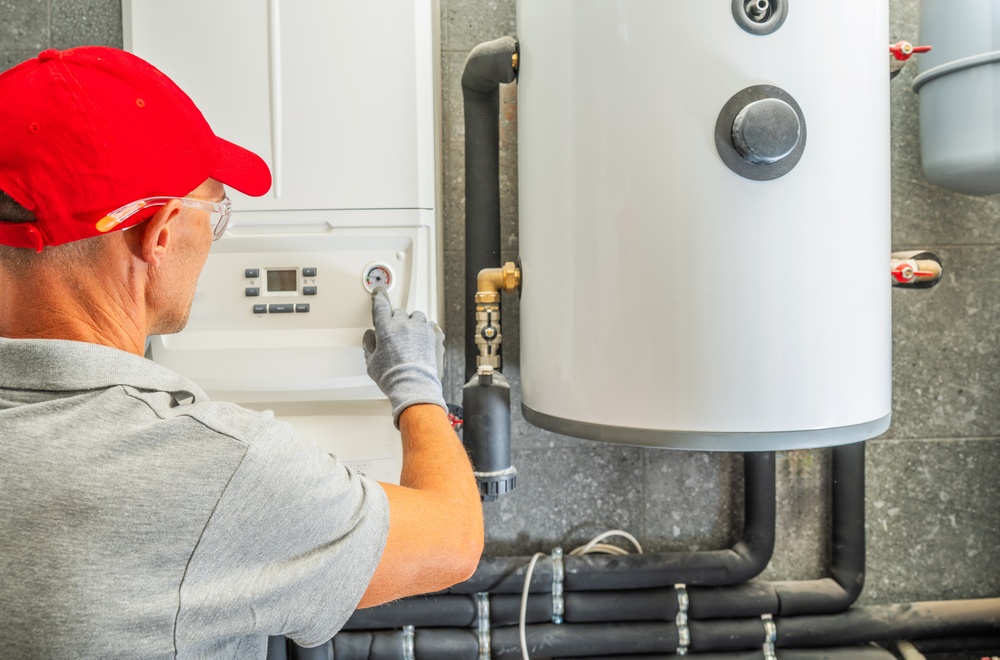
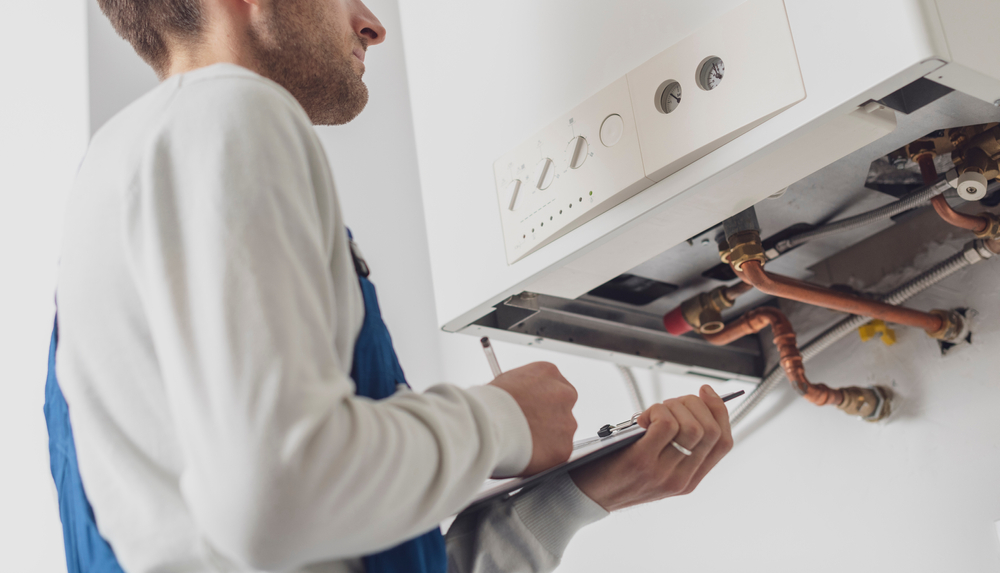
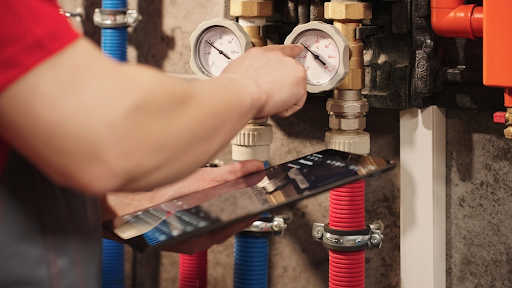
After bleeding, check the pressure gauge on the boiler. It should read between 1 and 1.5 bar when cold. If it has dropped below 1 bar, repressurise using the filling loop beneath the boiler.
Open the valve slowly until the gauge reads 1.2 to 1.5 bar, then close it. For more detail on this, see our guide to low boiler pressure.
Switch the heating back on and allow 15 to 20 minutes for the system to warm up.
Go back and feel each radiator you bled. It should now heat evenly from bottom to top. If cold spots remain after the system has fully warmed, the radiator may need a second bleed, or the issue may not be trapped air.
A single radiator typically takes five to ten minutes to bleed. A full house of eight to ten radiators can usually be done in under an hour, including the time waiting for the system to cool down at the start.
Once a year is the standard recommendation, ideally at the start of autumn before the heating season begins. If cold spots or gurgling sounds appear at any other point during the year, bleed the affected radiators as soon as you notice it.
Leaving trapped air in the system puts extra strain on the boiler and reduces the efficiency of every other radiator on the circuit.

Bleeding is the right fix for trapped air. It is not the fix for everything that makes a radiator underperform. If you have bled a radiator and it is still not heating properly, one of the following is likely causing it.
If the radiator is cold at the bottom but warm higher up, the problem is not air; it is sludge. Heating sludge is a build-up of corroded metal debris (magnetite) that settles at the bottom of radiators over time, blocking the flow of hot water into the lower section.
Bleeding will not shift sludge. The solution is either a powerflush or, in milder cases, a chemical flush, both of which need to be carried out by a Gas Safe engineer.
A powerflush typically costs between £350 and £850 depending on the size of the system and the extent of the contamination. Dark or black water when you bleed a radiator is a reliable indicator that sludge is present.
If the valve will not turn, do not force it. A seized valve can shear if forced, which causes a leak.
Apply a small amount of penetrating oil and wait a few minutes before trying again. If the valve still will not move, or if it leaks after bleeding even when closed, the valve itself needs replacing. That is a job for a professional plumber.
A completely cold radiator on its own, while others are warm, usually points to a thermostatic radiator valve (TRV) that is stuck closed. This may be because of a lockshield valve that has been closed accidentally, or, if it is a new installation, a balancing issue.
Try turning the TRV up fully to see if the radiator responds. If not, the valve may need freeing or replacing.
If you top up the boiler pressure after bleeding and it drops again within a day or two, there is a leak somewhere in the system. That may be in the pipework, a radiator valve, or the boiler itself.
Repeatedly topping up and ignoring a falling pressure reading is not a solution. A heating engineer needs to trace and fix the source of the leak.
If most or all of your radiators are not heating properly even after bleeding, the problem is more likely a pump fault, a circulation issue, a boiler problem, or significant sludge build-up across the system.
See our guide on why your boiler might not be working to work through the most common causes.
Bleeding a radiator is a safe DIY task for anyone comfortable with the basic steps above. Call a Gas Safe registered engineer if:
For landlords and property managers, radiator maintenance is part of the routine upkeep responsibility that sits alongside annual boiler servicing and periodic system checks.
If you are managing a portfolio of properties or a commercial site and need a heating engineer across London and the South East, call FS Group on 0800 689 3497 or get in touch online.
Bleeding a radiator takes ten minutes and costs nothing. Done once a year, it keeps the heating system running efficiently, reduces strain on the boiler, and prevents cold spots from becoming a bigger problem.
The key steps are simple: heat off, cool down, bleed from furthest to nearest, close the valve when water appears, check and top up the boiler pressure afterwards.
When bleeding does not resolve the problem or when the issue is sludge, stuck valves, or a system that keeps losing pressure, that is when a professional needs to take over.
How do I know if my radiator needs bleeding?
The most common sign is a radiator that is warm at the bottom but cold or cool at the top. You may also hear gurgling or bubbling sounds from the radiator when the heating is on. If the radiator is cold at the bottom rather than the top, sludge is more likely the cause and bleeding will not fix it.
What does a radiator bleed key look like?
A radiator bleed key is a small, square-ended metal tool that fits into the central pin on the bleed valve. They cost around £1 to £2 from any hardware shop. Some modern radiators use a flat-head screwdriver or an Allen key instead.
Do I need to turn the heating off before bleeding a radiator?
Yes. Always turn the heating off and wait for the radiators to cool before bleeding. The water inside a hot radiator is pressurised and can scald if it sprays out when you open the valve.
Why does my boiler pressure drop after bleeding radiators?
Bleeding releases a small amount of water from the system along with the air, which lowers the pressure. After bleeding, check the boiler pressure gauge. If it has dropped below 1 bar, top it up using the filling loop until it reads 1.2 to 1.5 bar. If the pressure drops again quickly without further bleeding, there is likely a leak in the system.
How often should I bleed my radiators?
Once a year, ideally at the start of autumn before the heating season. If you notice cold spots or hear gurgling at any other time, bleed the affected radiators as soon as possible.
Heating or hot water still not right?
If the checks above have not fixed it, the fault needs an engineer. Call us and we will arrange a visit.
Boiler or heating fault in London or the South East?
FS Group repairs and services boilers and central heating across London, Essex, Kent and Hertfordshire. Call to book an engineer.

.png)
.png)
















.jpeg)


.jpeg)
.png)
.png)
.png)
.png)